Products & Services
Support
Company
Contact Us

Embedded Computer Systems
Most ADC systems use an embedded computer for real-time control of the system. However, for security reasons, these systems are not usually connected to the Internet. An Internet connection is obviously required for remote support from ADC. This document describes how to connect an ADC System with an embedded computer to the Internet, using a customer's computer as a bridge.

In this figure, the Customer PC is used as a "BRIDGE COMPUTER"
A computer with with two network connections is required. The obvious choice is usually a laptop because a laptop already has a wireless network interface built-in to the system, and a USB->Ethernet adapter can be used for the connections to the ADC System. A desktop computer with two network cards is also a great choice. Newer ADC systems can be connected directly to the Internet for Remote Support purposes.
A WORD OF CAUTION: Often times, a laptop will have a wireless connection and a built-in Ethernet port. This seems like a good choice for use as a bridge computer, but usually the wireless adapter does not function if an Ethernet cable is connected to the Ethernet port. This means it cannot be used as a bridge computer. For most laptops, a USB to Ethernet adapter is required.

To use a laptop as a BRIDGE COMPUTER:

To use a desktop as a BRIDGE COMPUTER:


CONNECT ADC SYSTEM DIRECTLY:
Newer ADC Systems can be directly connected to the Internet for remote support. Note that these systems should not remain connected after support has completed. To Connect:
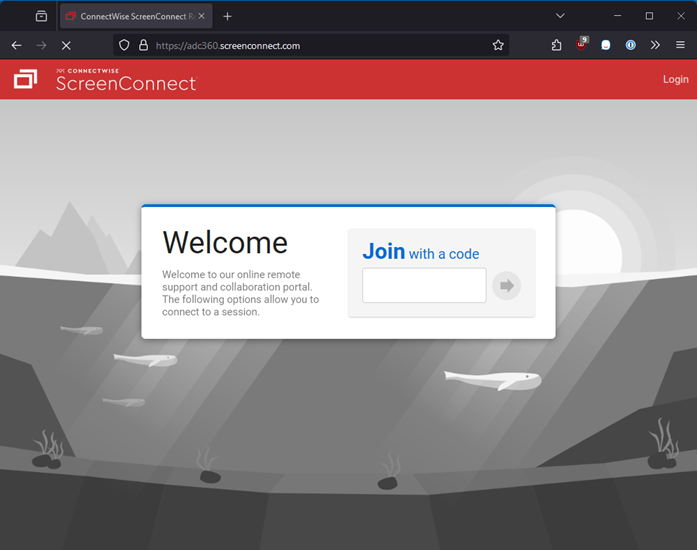
This topic covers the process of joining a remote access session using ScreenConnect. Open your browser (Microsoft Edge, Google Chrome or Firefox) and navigate to https://adc360.screenconnect.com. The ADC Technician will provide a six-digit session code. Enter the code and click the (->) button.
Your browser will download an executable, and prompt you to run it.
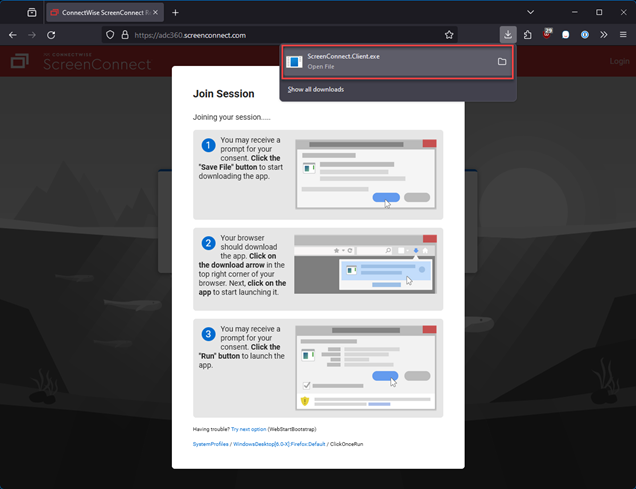
Click "Run" to connect to the session. If asked to approve executing the program, please select YES.
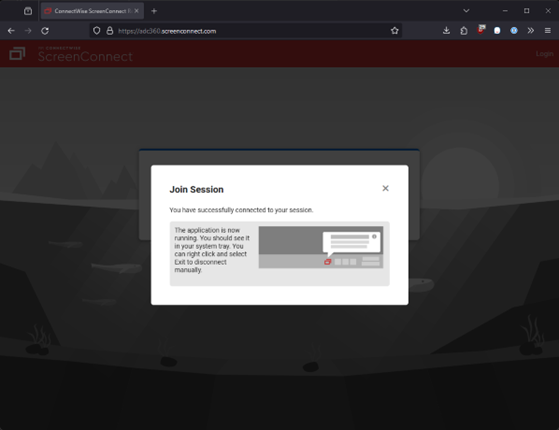
At this point you will have successfully connected.